

If you want to build privacytracker from source — for development, a custom build, or a platform we don’t ship binaries for yet — see the Develop section.
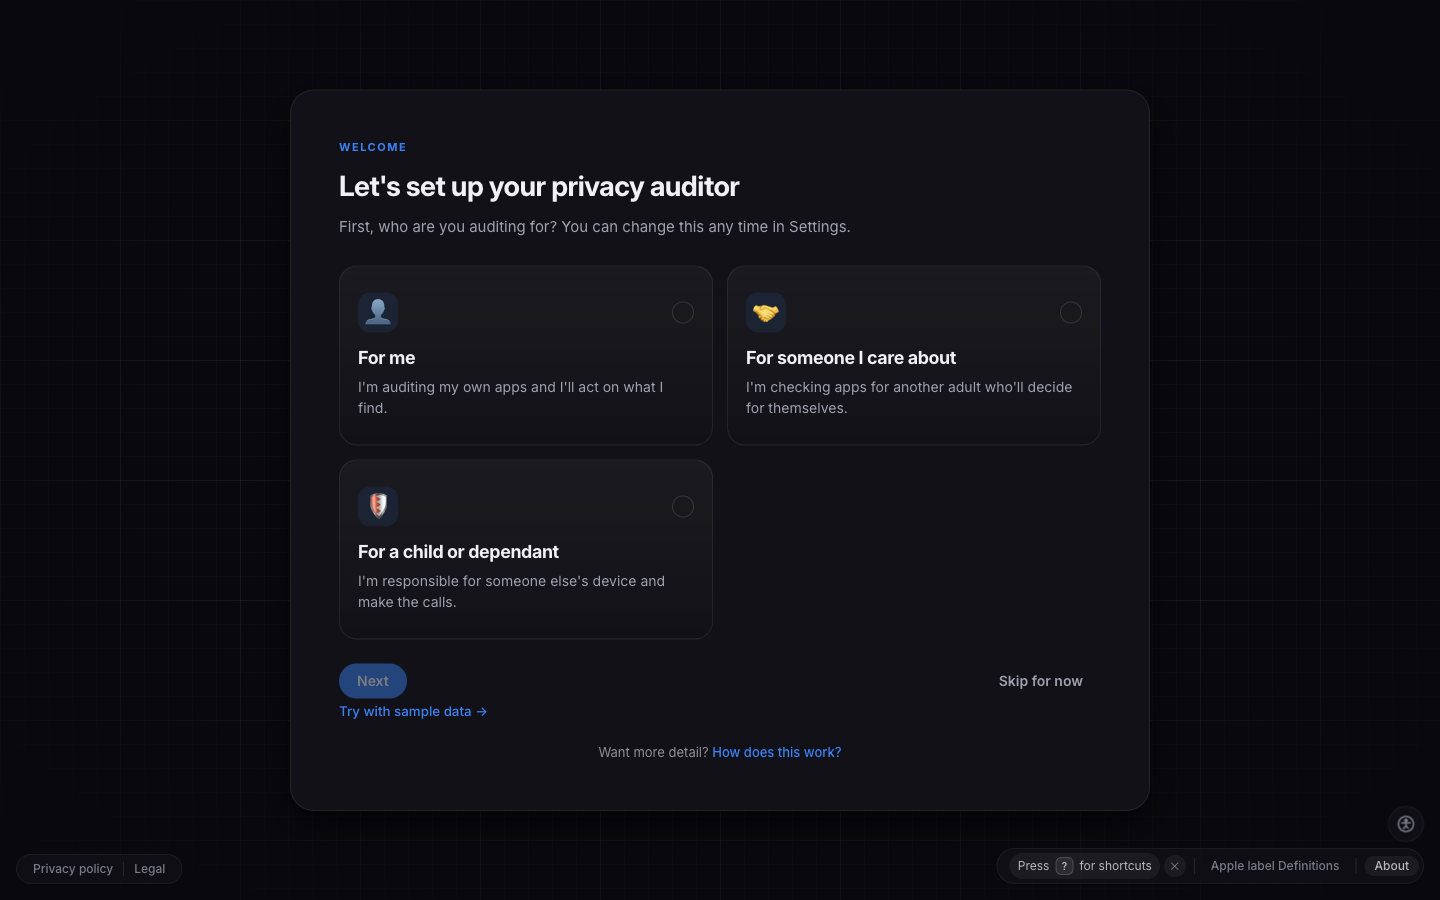
First-run audience picker
Pick how to run it
- Desktop app (macOS)
- Homebrew (macOS)
- Docker (Linux / macOS / NAS)
Signed and notarized for both Apple Silicon and Intel. The simplest path on a Mac.
1
Download the latest .dmg
Grab the latest release from github.com/privacykey/privacytracker/releases/latest.
2
Drag privacytracker into /Applications
Gatekeeper opens it without warning — the build is Developer ID signed and notarized by Apple.
3
Launch privacytracker
Auto-updates are handled by the Tauri updater with an ed25519 signature check on every patch. The SQLite database lives at
~/Library/Application Support/privacytracker/ and survives app updates.Import your first apps
Whichever way you installed it, the in-app workflow is the same.1
Pick an audience and goals
First-run onboarding asks who you’re tracking apps for (
self, loved one, guardian) and what you want to focus on (monitor, cleanup, minimal, plus an optional accessibility modifier). These choices tune the UI, and a short goal-aware guided tour highlights the surfaces they unlock — dismiss it any time and replay it later from the focus tour at /help/focus.Changed your mind? Re-pick audience and goals from the Your focus card at the top of Settings via its Adjust button. Individual feature flags can be fine-tuned separately under Settings → Developer Options → Feature flags.2
Add apps by name or URL
Type app names — privacytracker hits the iTunes Search API and shows ranked candidates to confirm. You can also paste App Store URLs directly, or upload a
.txt / .csv from the iPhone import helper.Not ready to add your own yet? Choose Try with sample data in onboarding to load 10 demo apps so you can explore the dashboard, Privacy Map, and timelines first. The demo set is session-only — it clears itself when you restart or once you start adding real apps, so it never mixes into your data.3
(Optional) Configure an AI provider
Skip this if you only want label tracking. To get developer-policy summaries, head to Settings → AI and pick a provider:
- OpenAI — paste an API key.
- Anthropic — paste an API key.
- Own model — point the base URL at any OpenAI-compatible endpoint. The simplest local setup is:
4
Watch the timeline
Each app gets a per-app detail page with a chronological snapshot timeline, a category-trend chart, and a “matches live sync” badge when an archived snapshot agrees with the current scrape. Re-scrape an app from the detail page to produce a change notification you can see in the bell.
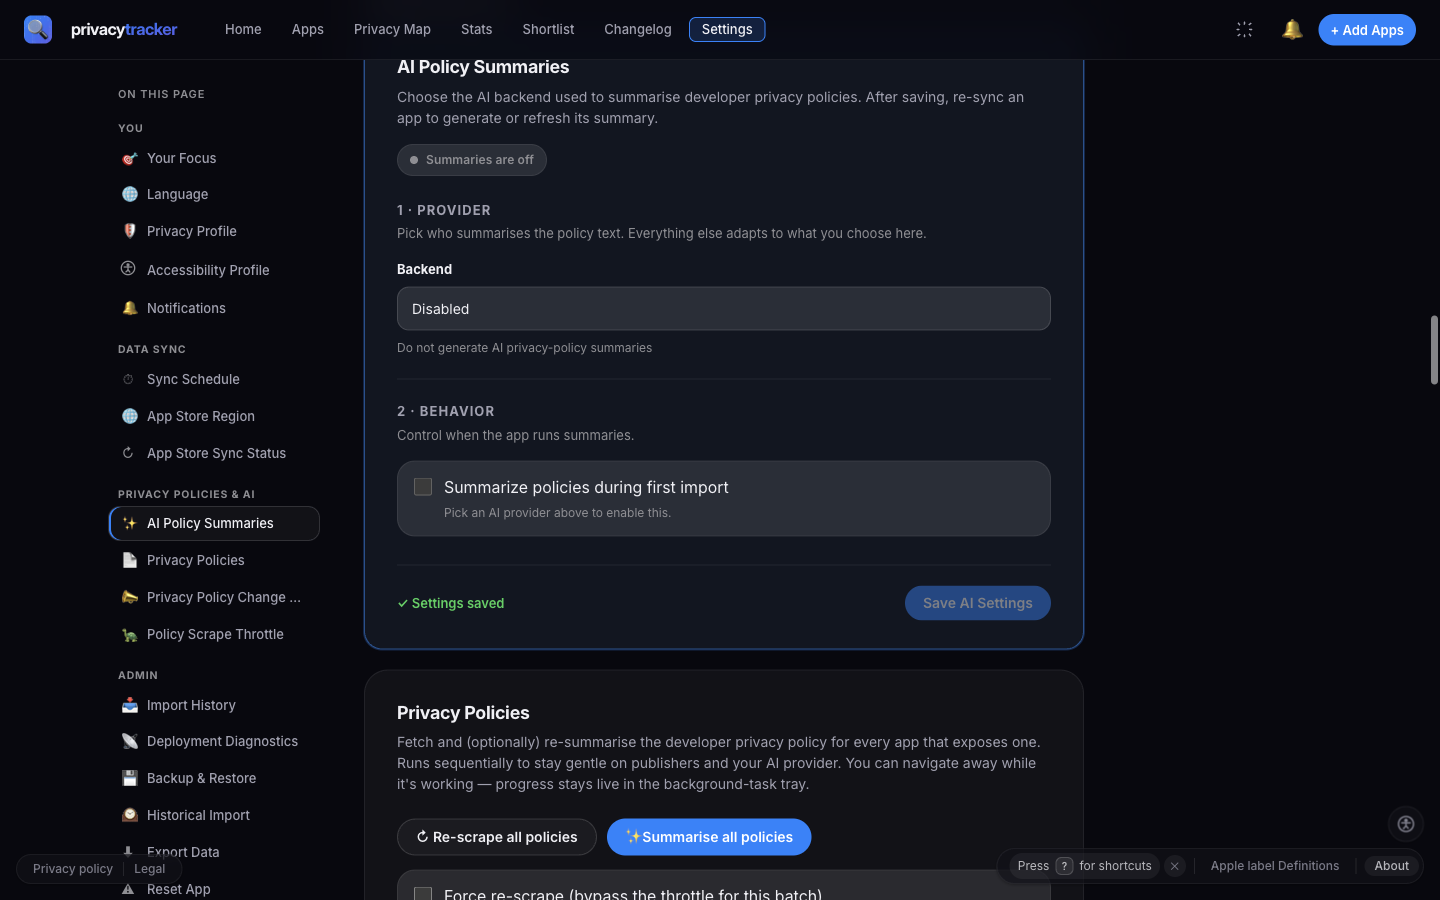
AI settings for choosing a provider
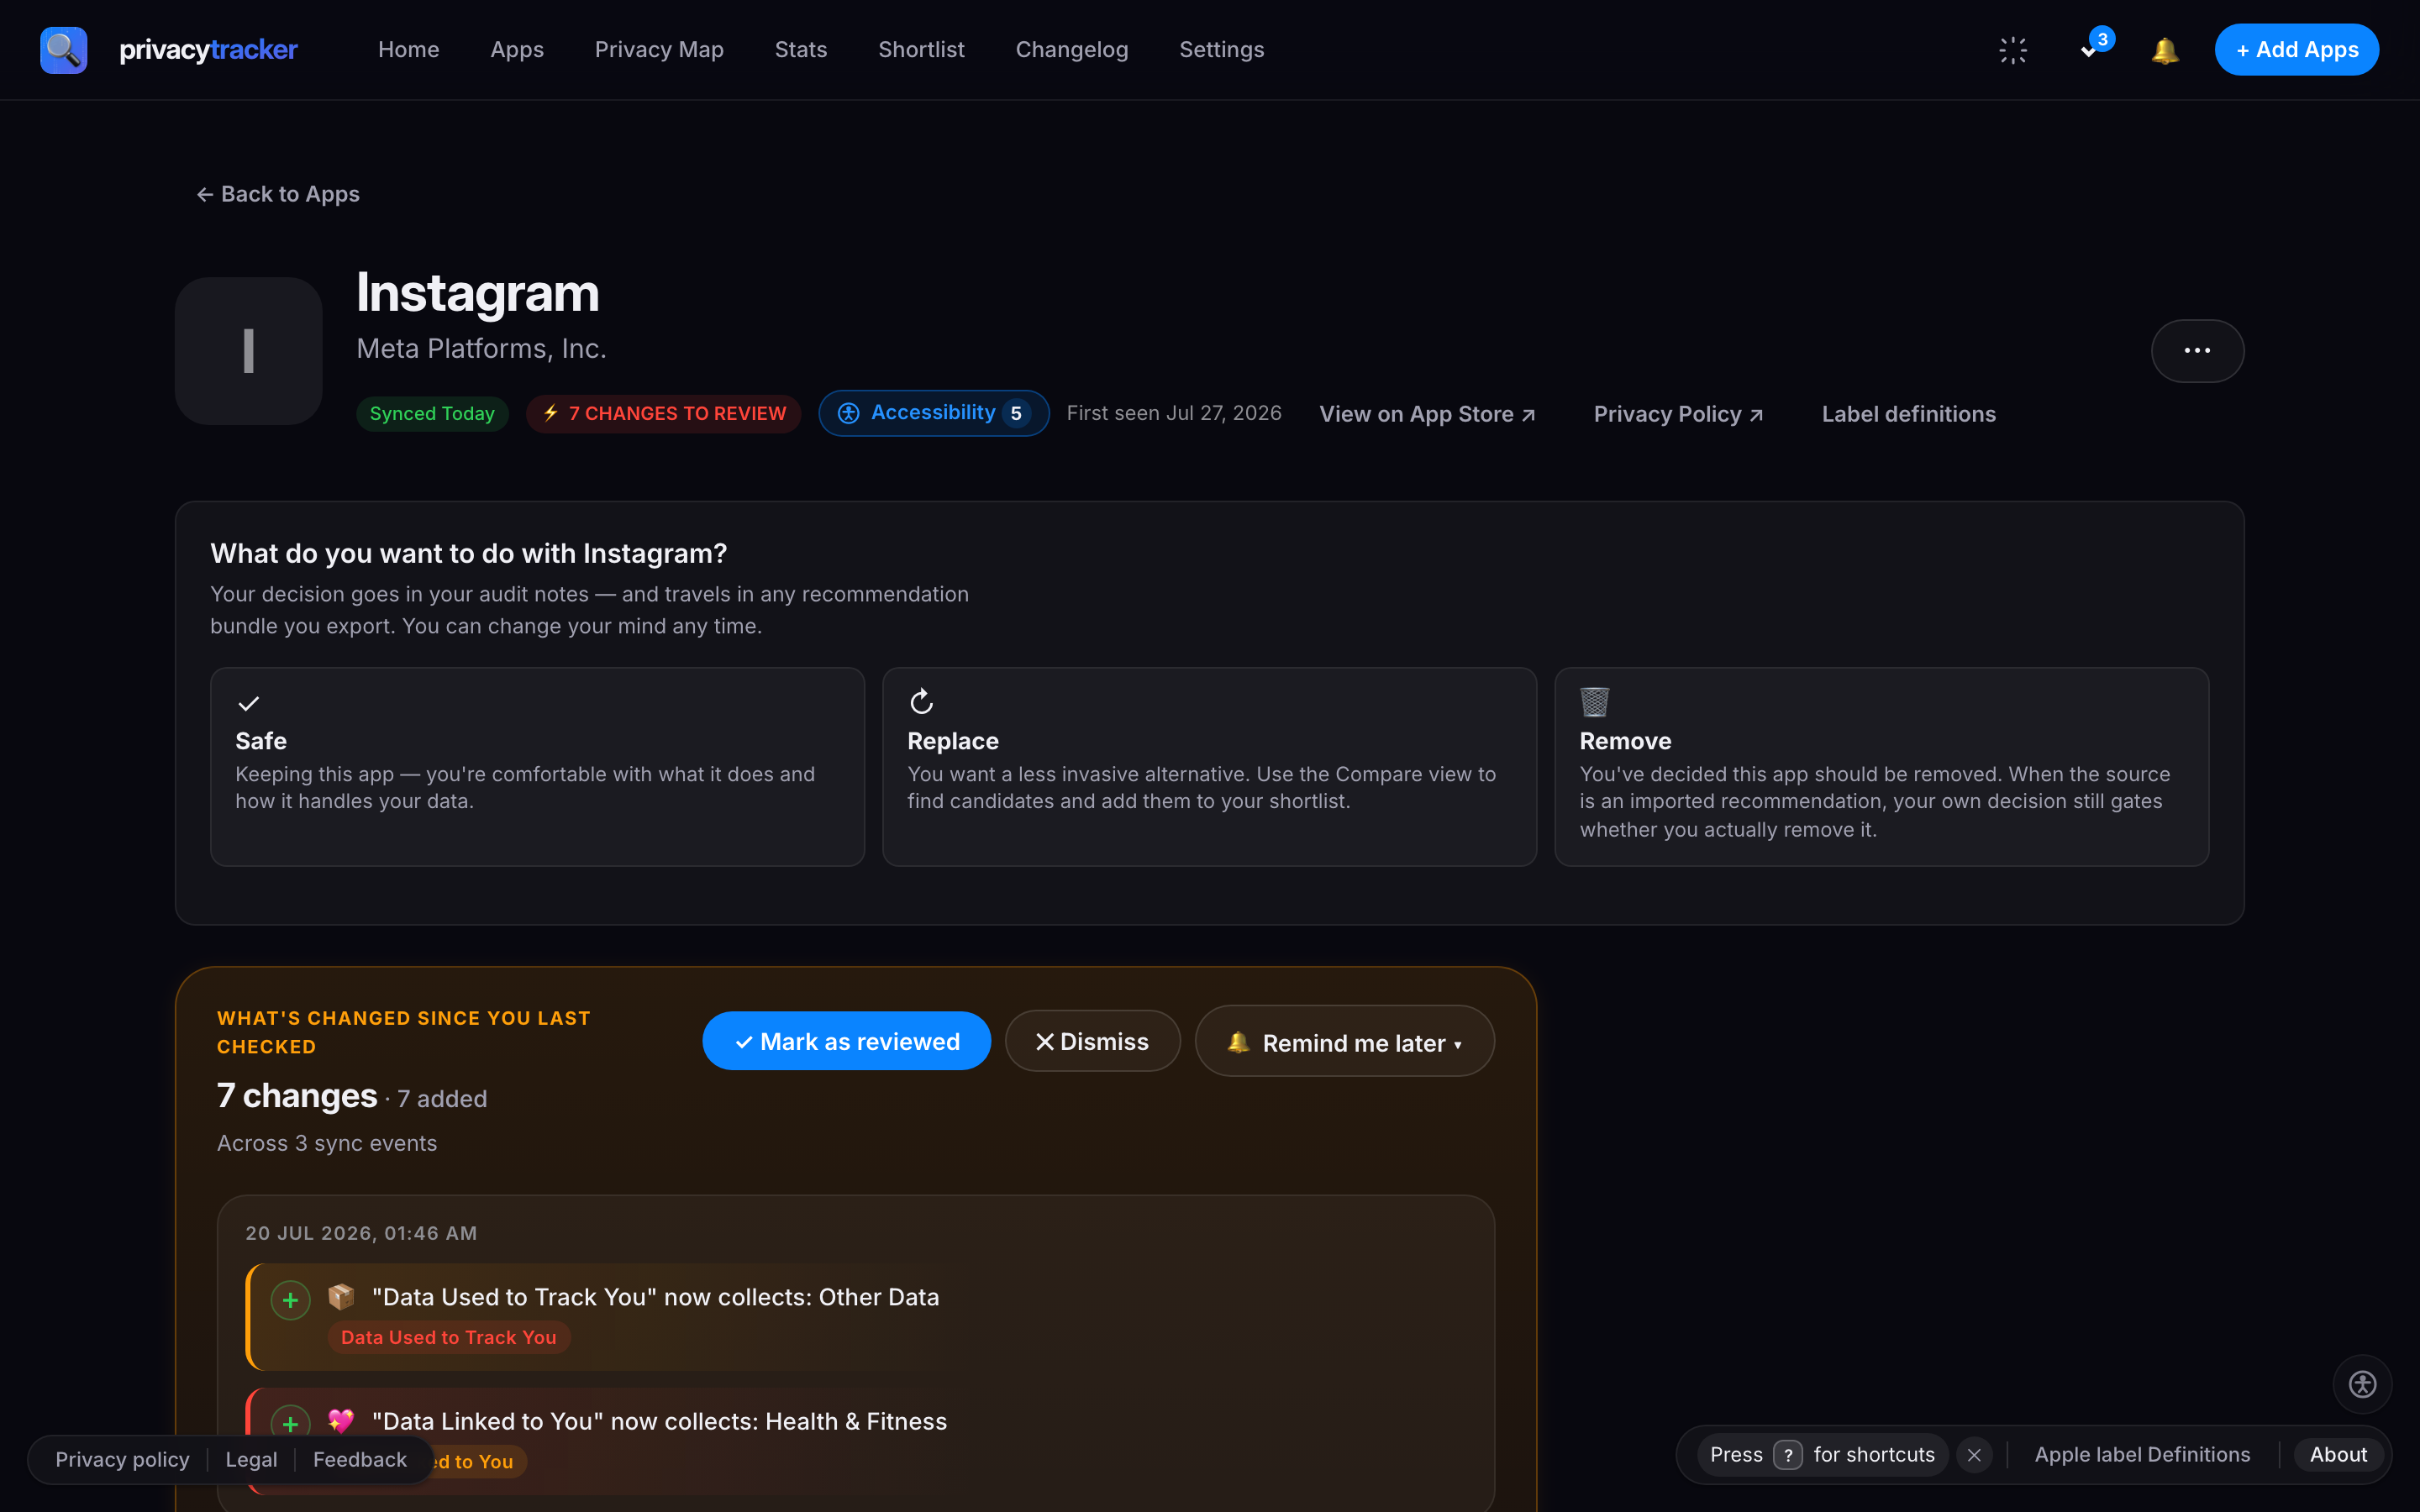
App detail timeline after a few syncs
Verify it’s healthy
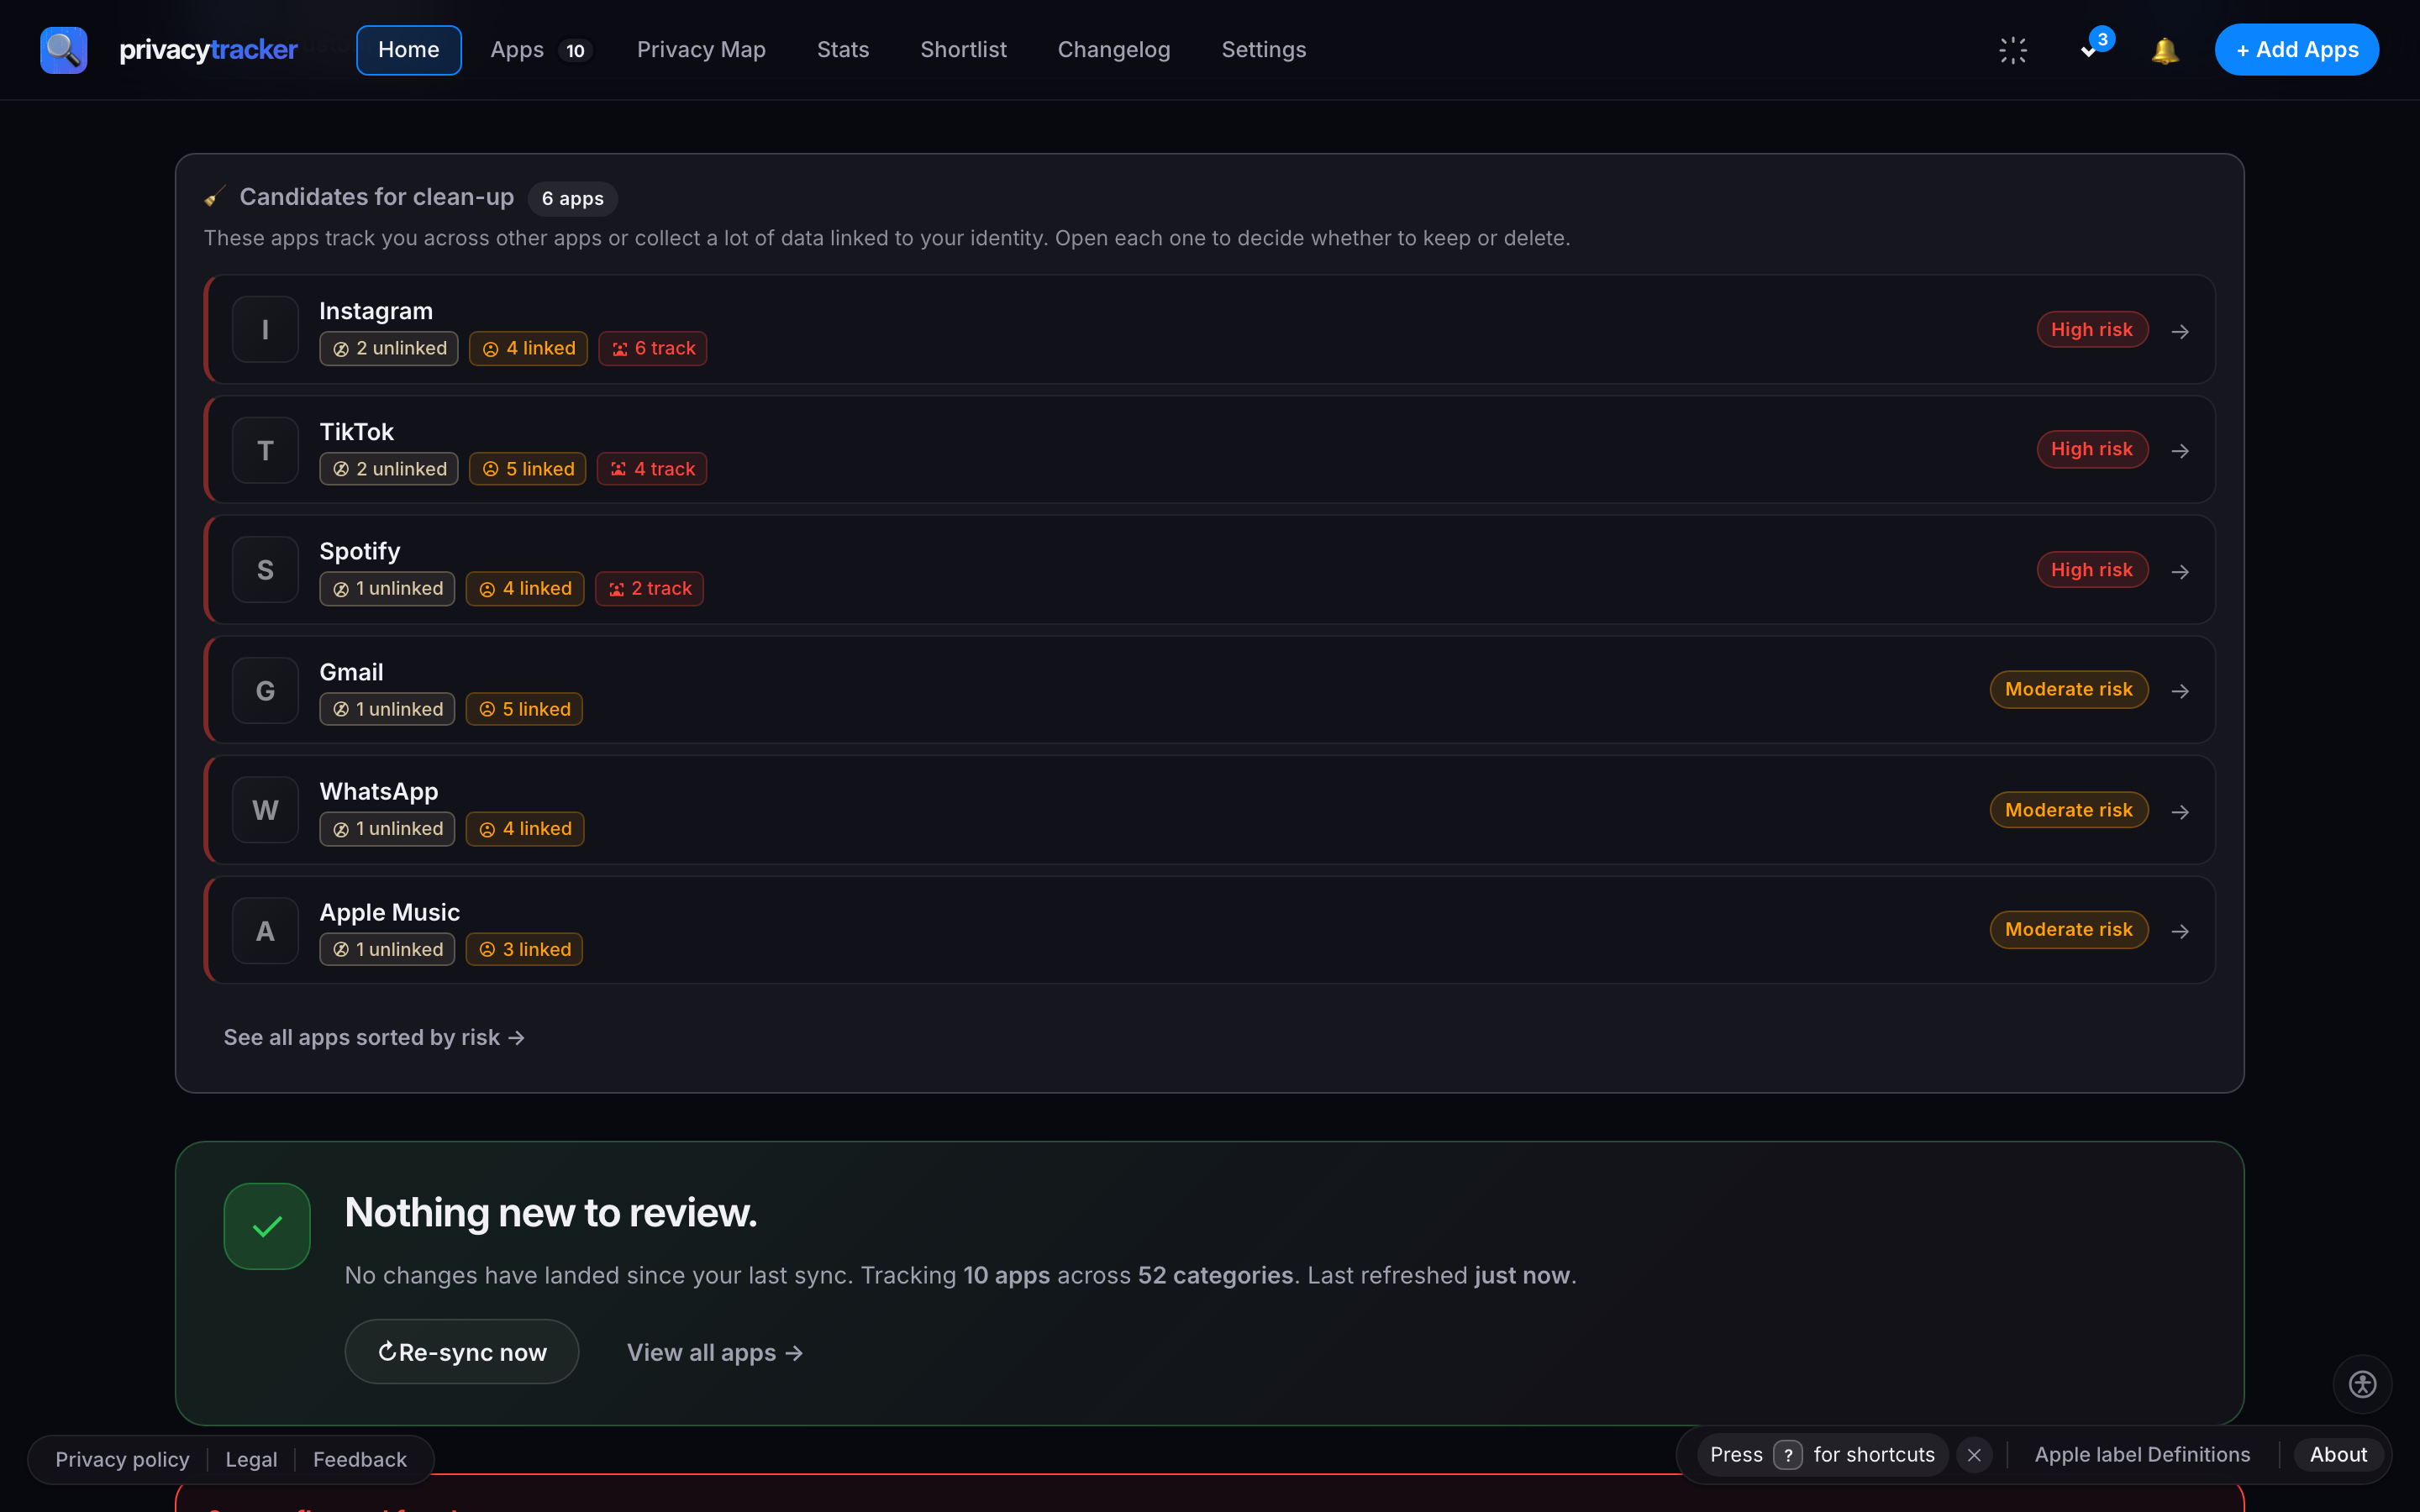
Dashboard after importing sample apps
GET /api/ready is the readiness probe (DB reachable + data dir writable). It returns 200 with status: "ready", or 503 with status: "not_ready" and the failing entries in checks — which is what makes it usable as a Docker HEALTHCHECK. GET /api/health is the cheaper liveness probe used by uptime checks.
Next steps
All install paths
Detailed setup for desktop, Homebrew, Docker, and behind a reverse proxy.
Configure AI providers
Add OpenAI, Anthropic, or a local model — tune timeouts, chunking, and debug logging.
Back-fill historical labels
Pull every quarter of label history Apple has published since February 2021 — the earliest era when Apple shipped privacy nutrition labels in the App Store HTML.
Build from source
Run privacytracker from a checkout — for development or unsupported platforms.